
BizPortals DMS Installation
Overview of BizPortals DMS Extension (Document Control)
Introduction
This guide provides the following information:
Step-by-step instructions to administrators who want to install BizPortals DMS Extension in Microsoft Office 365 SharePoint environment.
System Requirement and Prerequisites
Completing these steps requires MS 365 environment with SharePoint application administrator and SharePoint administrator access to the SharePoint tenant
Step by Step Navigating to App Catalog in SharePoint
- 1. Log in to Office 365 or SharePoint site using an account with global administrator or SharePoint administrator privileges.
- 2. Visit your Office 365 SharePoint Admin Center
- 3. To access the Office 365 admin center, click the app launcher icon (grid of squares) in the top left corner of your Office 365 screen and select “Admin.” (If you don’t see the “Admin” option, you may not have Office 365 administrator permission for this SharePoint tenant.)
-
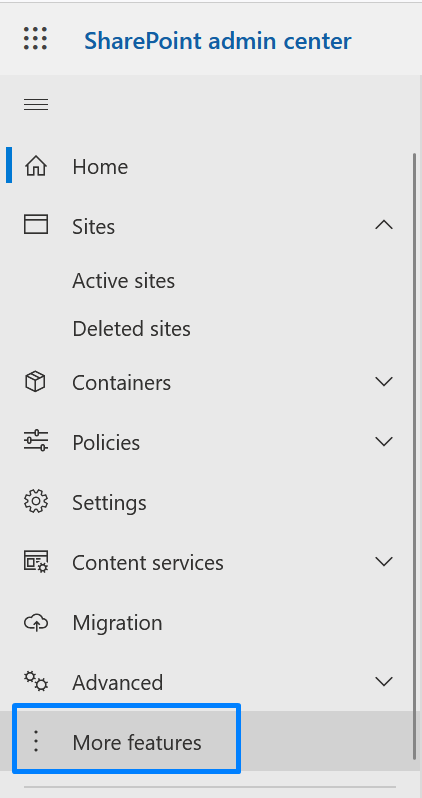
4. On the left pane, choose Admin centers > SharePoint

- 5. Click on More features.
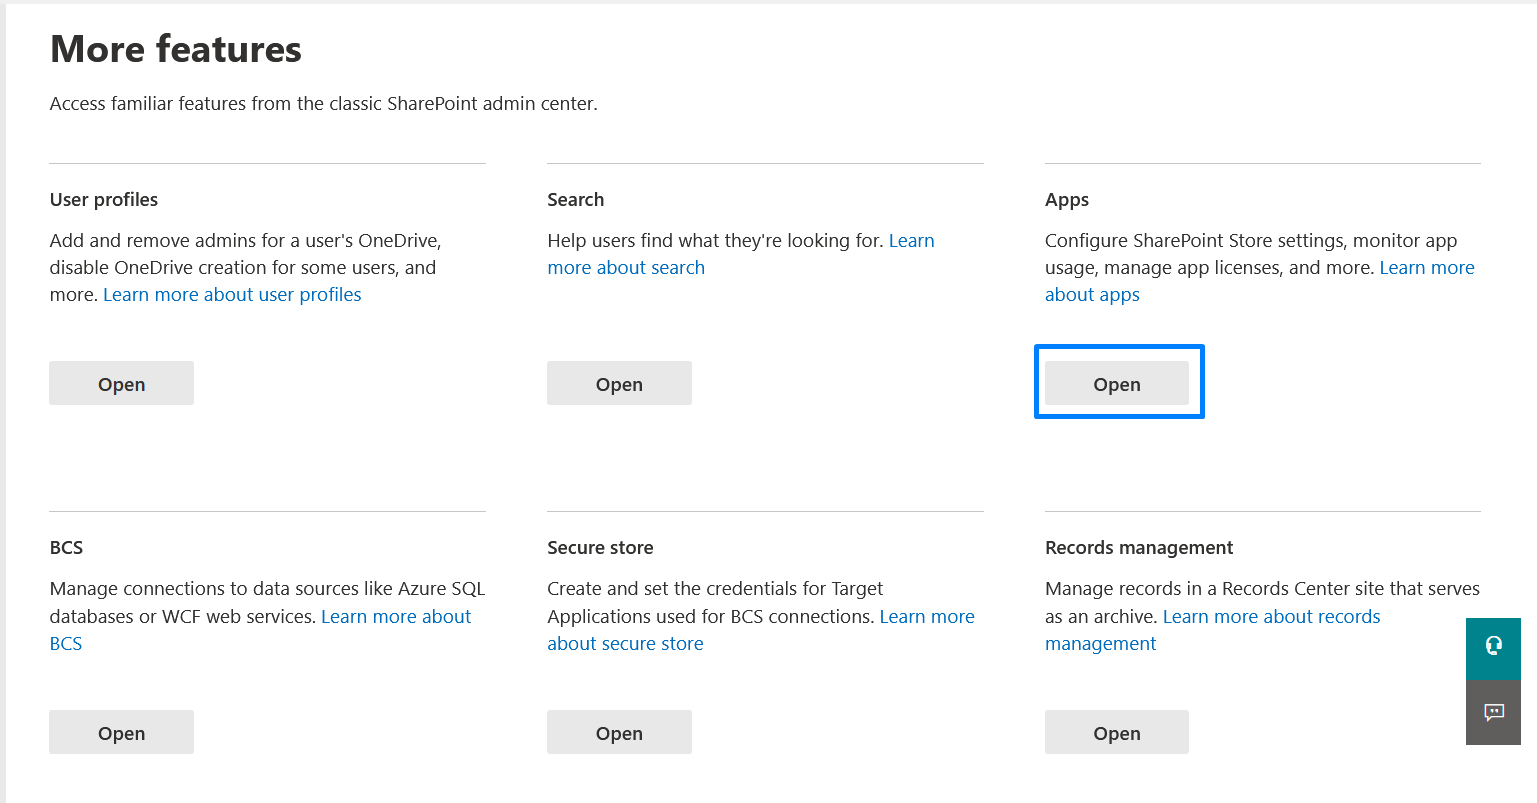
- 6. Click on “Open” under Apps section in the right Pane
- 7. This will open the manage apps page in modern view, navigate to classic experience and click upload and select the sppkg file (as shared with you) as shown in below screenshot
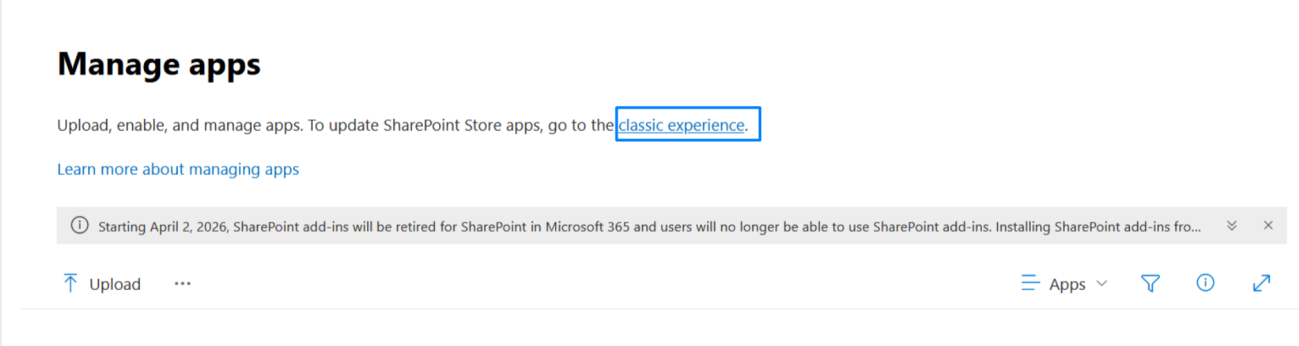
- 7. This will open the manage apps page in modern view, navigate to classic experience and click upload and select the sppkg file (as shared with you) as shown in below screenshot
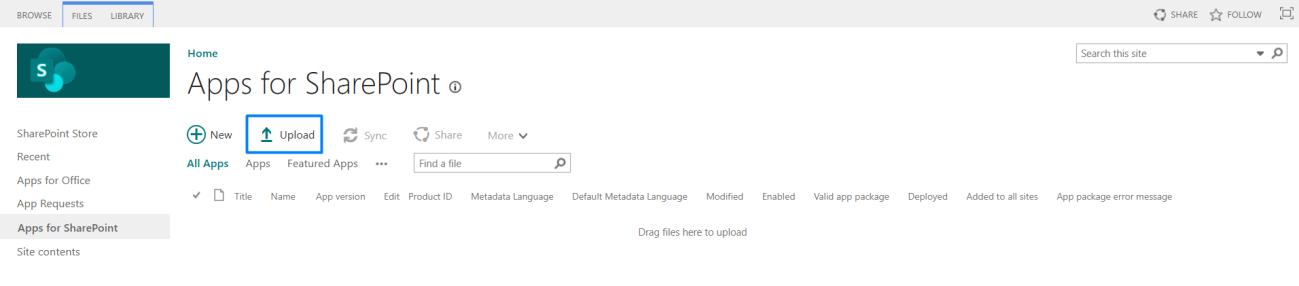
Note: All the reference screenshot belongs to SharePoint Classic Mode
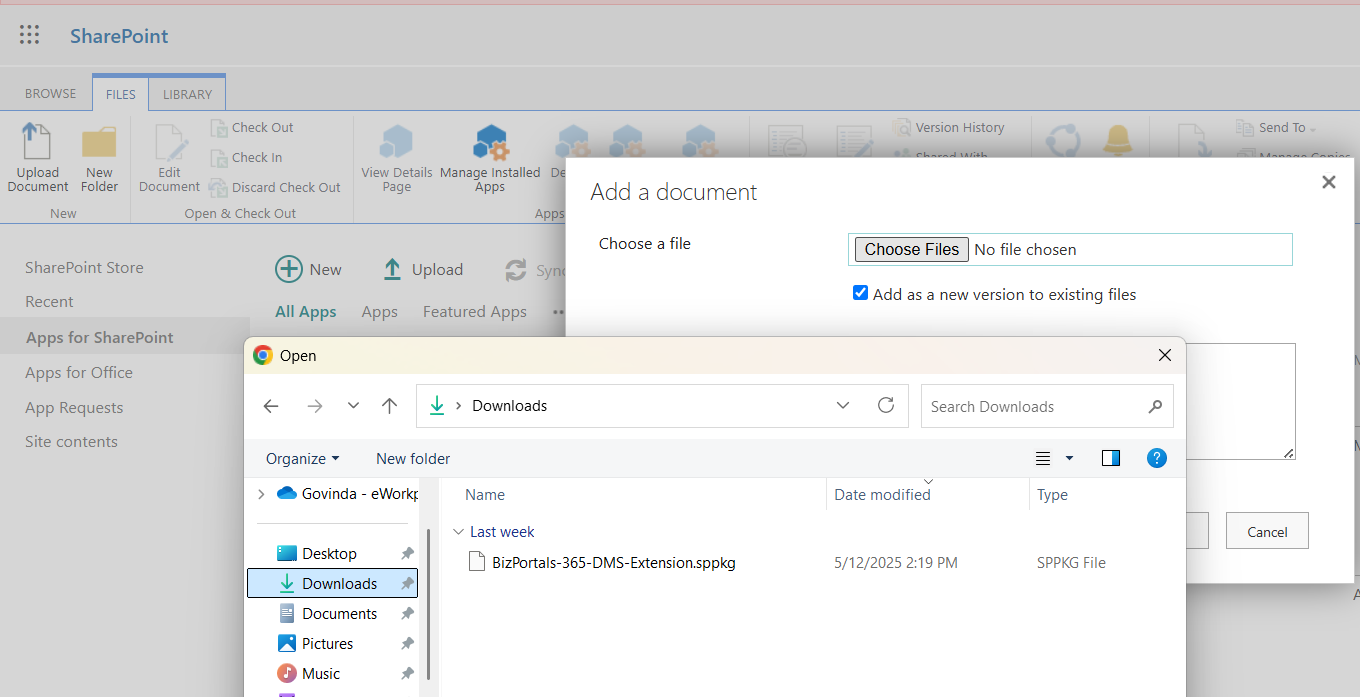
Uploading the BizPortals-365-DMS-Extension. sppkg file
The BizPortals 365 DMS Extension. sppkg is an SPFx (SharePoint Framework) web part designed to enhance and add-on the SharePoint document library functionality. This interactive extension empowers employees to easily track detailed activity log and utilize approval process.
- Select highlighted sppkg file from your system and upload. Click on ‘Ok’
- Select the check box – “Make this solution available to all sites in the organization” and click “Deploy”
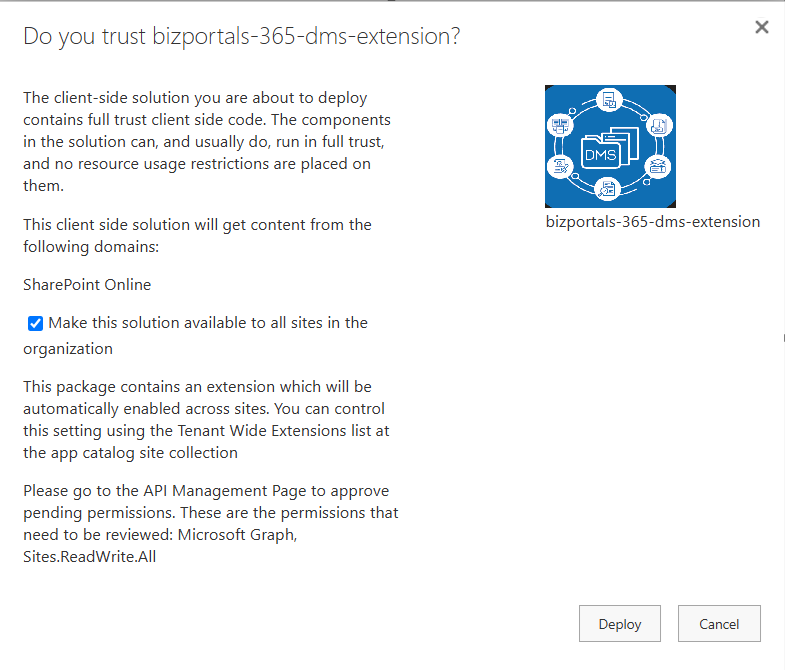
Note: If you only want to deploy this solution to specific site collections, do not select the checkbox mentioned above
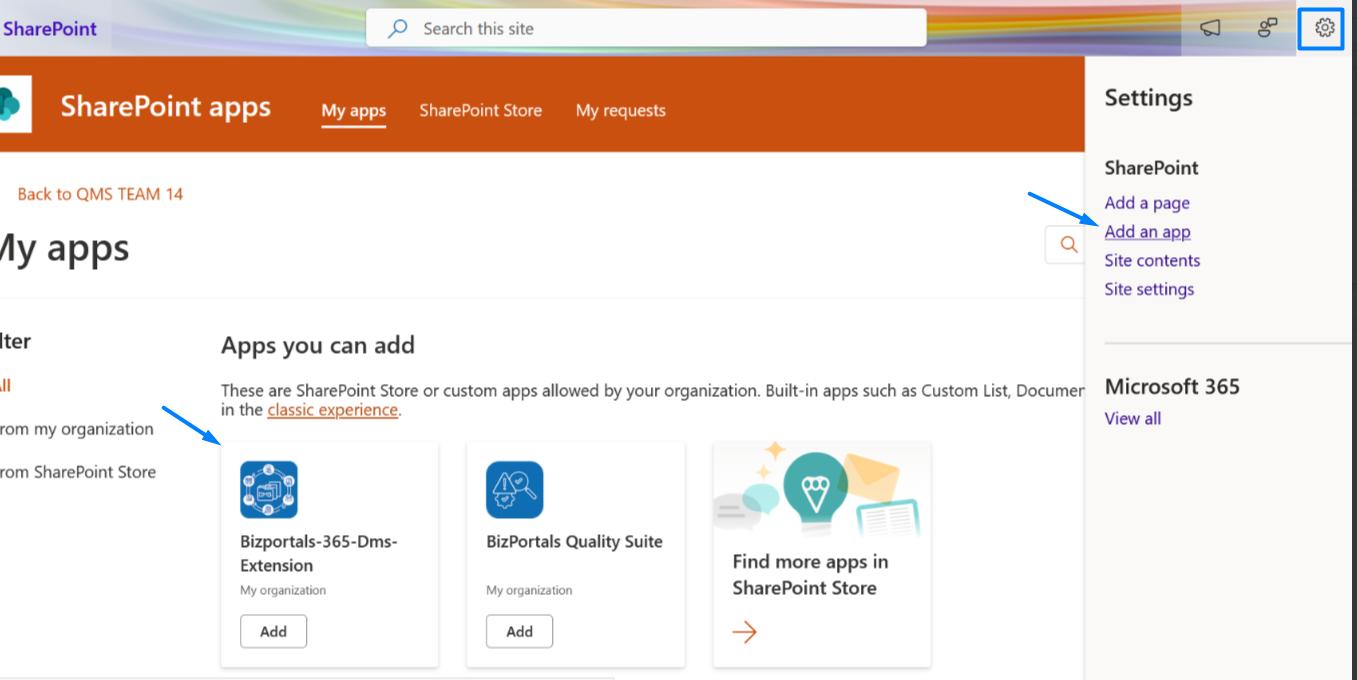
You’ll need to navigate to each desired site collection individually, click “Add an App” (refer to the screenshot below), and then choose and add the appropriate app
- Make sure the package is added with “No error” and deployed to all sites.

Granting API Permissions to BizPortals 365 DMS Extension
For the DMS extension to work seamlessly, it requires access to certain permissions related to the package. This ensures all its functionalities operate as intended.
- Navigate to Admin Center

- On the left pane, choose Admin centers > SharePoint.

- Click on Advanced> API Access

- You will see the Manage API Access page

- Select the pending API from the access page.
- It will open a pane to approve access, Click on Approve.

- Approve pending API requests – Microsoft Graph, Sites.ReadWrite.All
Note: For all pending requests related to the package file, complete the necessary actions. If your queue shows no pending requests, you can proceed
After finishing this API approval, close this interface and proceed to your SharePoint site document library
BizPortals DMS Extension – Installation Video
Refer below video for detailed installation steps.
Working with the BizPortals DMS Extension in SharePoint
- After completing the above steps, you should see the BizPortals DMS Configurations in all your libraries. Please refer to the screenshot below
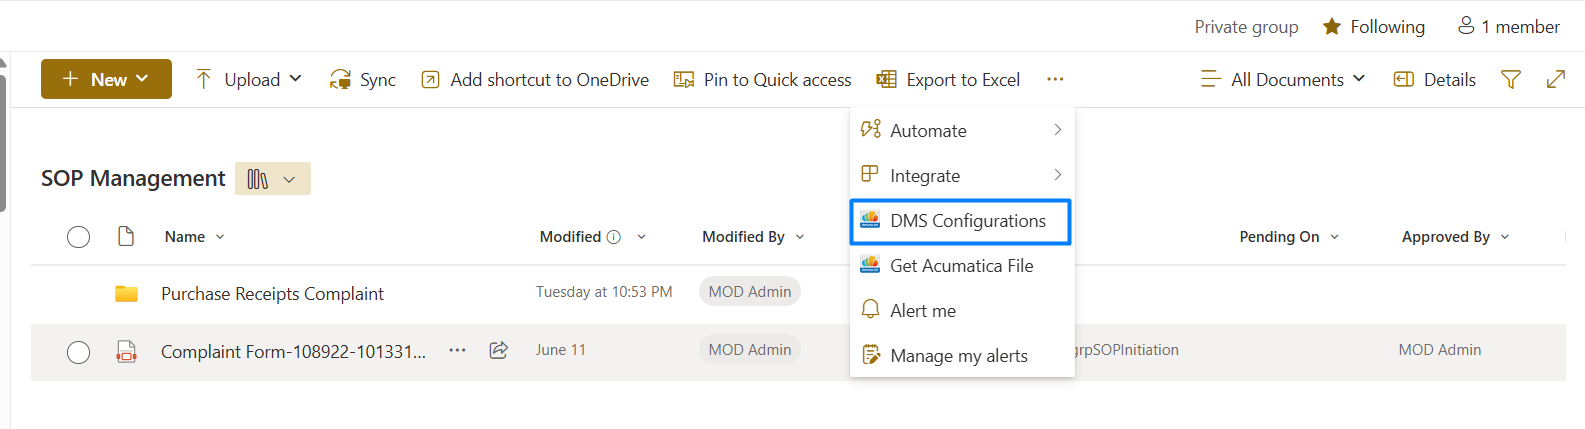
- Click the highlighted DMS Configurations to view the configuration window. See the screenshot below for reference
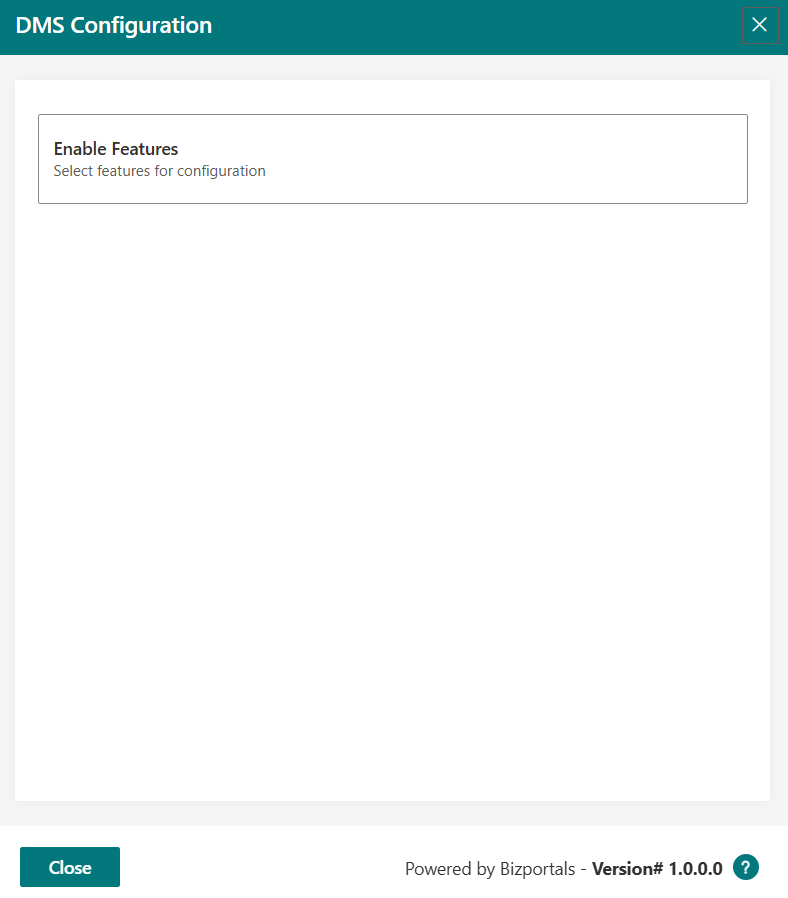
- To start configuring and see the list of features, click Enable Features
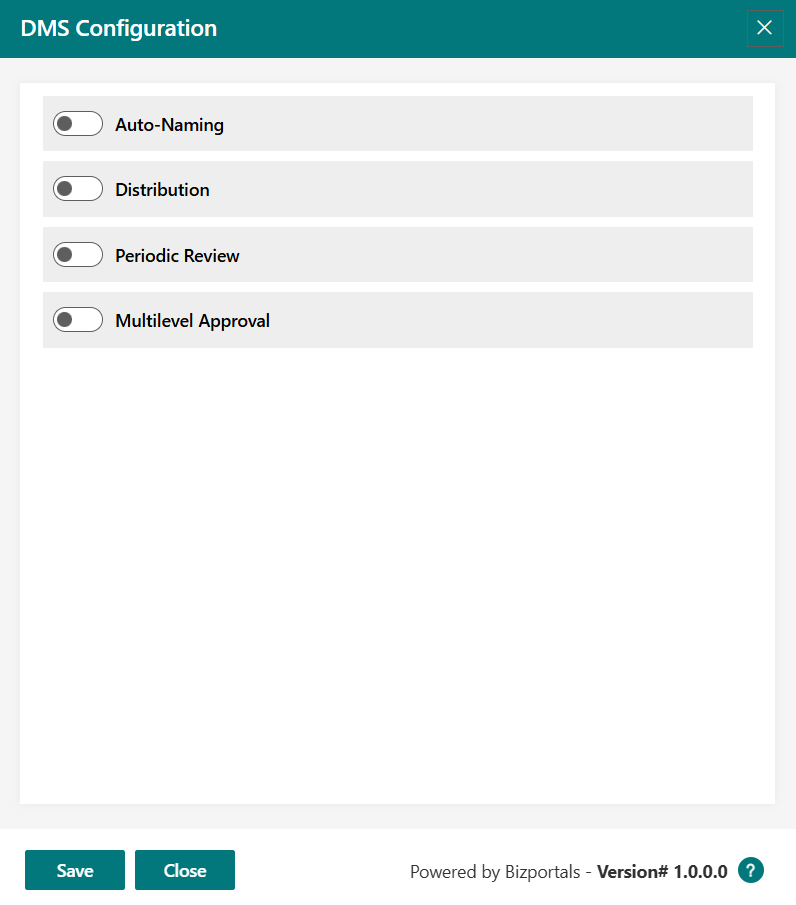
- To begin using the features, simply enable them and set up their specific configurations
Comprehensive Configuration Guides
Visit our Knowledge Base for detailed instructions, functionality and configurations:
Accessing video tutorials
Refer to our BizPortals DMS extension videos on YouTube
Licensing Information
At BizPortals, we manage BizPortals DMS Extension licenses through our internal system.
Uninstalling the BizPortals DMS Extension from SharePoint
- Click the app launcher icon (grid of squares) in the top left corner of your Office 365 screen and select “Admin.” (If you don’t see the “Admin” option, you may not have Office 365 administrator permission for this SharePoint tenant.)

- On the left pane, choose Admin centers > SharePoint.
- Click on More features

- Click on “Open” under Apps section in the right Pane

- This will open the manage apps page in modern view, navigate to classic experience.

- Select the file and click on Delete

- Click on “Ok” in the pop-up
- Select Site Content

- Click on Recycle bin

- Select the file and delete

- Select and delete the same file from the second stage recycle bin.